Java Backend [Spring]: Setup
by Ryan Yang
Overview
Overview
In this series, we'll explore how we can spin up a backend in Java using the Spring framework. As of 2024, Spring Boot is still the most popular web server framework for Java. It's a very well established framework and supports a variety of different architectures but first, we'll be going over how to create a basic REST API.
Setup
Setup
Since I use VSCode for everything, I'll be showing the setup in VSCode but if you're able to find a tutorial for your preferred IDE, I would recommend following that. The steps I've outlined here follow this wonderful documentation from the official VSCode docs.
Prerequisites
Prerequisites
We need to setup our dev environment to be able to work with Spring Boot. Ensure that you have Java installed (JDK) and then you'll want to install the following extensions in VSCode:
Create project
Create project
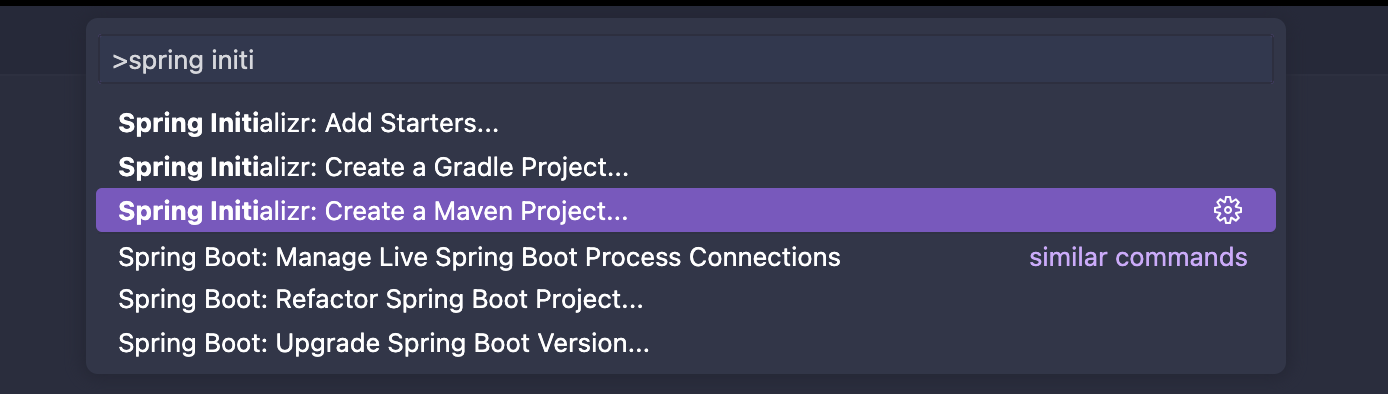
Now that you have the extensions installed, you should be able to open up the command palatte (Command + Shift + P on Mac), type in Spring Initializr: Create a Maven Project, and select the option from the dropdown.
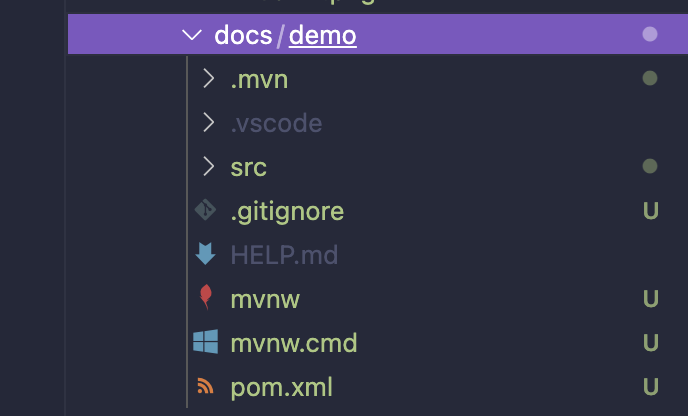
You'll have to go through the guide steps but you can select the first option for all of them if you're unsure. The one thing you need to make sure here is that the version of Java you select (either 17 or 21) should match the JDK version you have installed. Once you're done, you should be able to see all the files that have been generated in your project - which looks something like this:
Running your project
Running your project
To run our project, all we need to do is open up the file that our main function is in. You should be able to find it in /src/main/java/com/example/demo/DemoApplication.java (if you selected the default option during the initializer wizard). Then, click the run button and you should see the program run immediately.
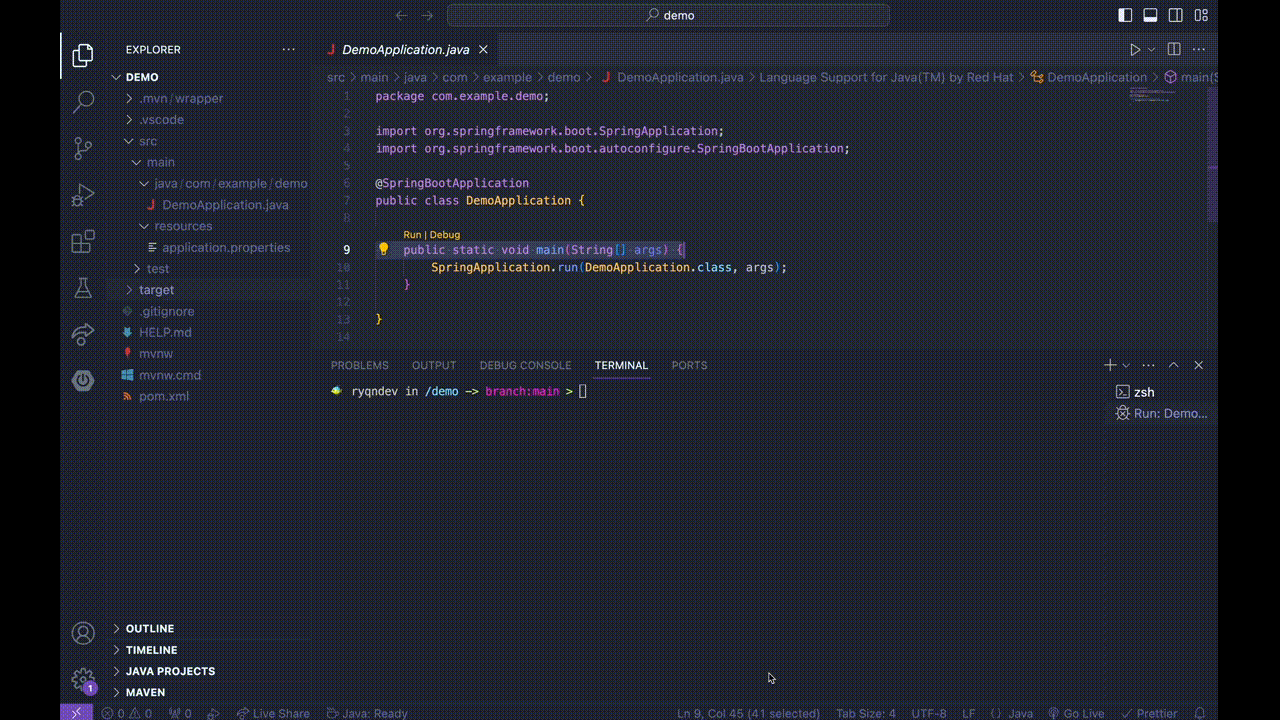
You should then be able to navigate to http://localhost:8080 and see an error - but something!
Add a dependency
Add a dependency
Before we can create our first route, we'll need to install some dependencies needed for the next part. All we have to do here is right click on our pom.xml file, select Add Starters..., and we'll install the Spring Web dependency.

Add a route
Add a route
To add a route, we'll have to create a new class that's annotated with a RestController. To do so, we'll create a new file called TestController.java in the same folder as our main and copy the following into it:
TestController.java
Finish
Finish
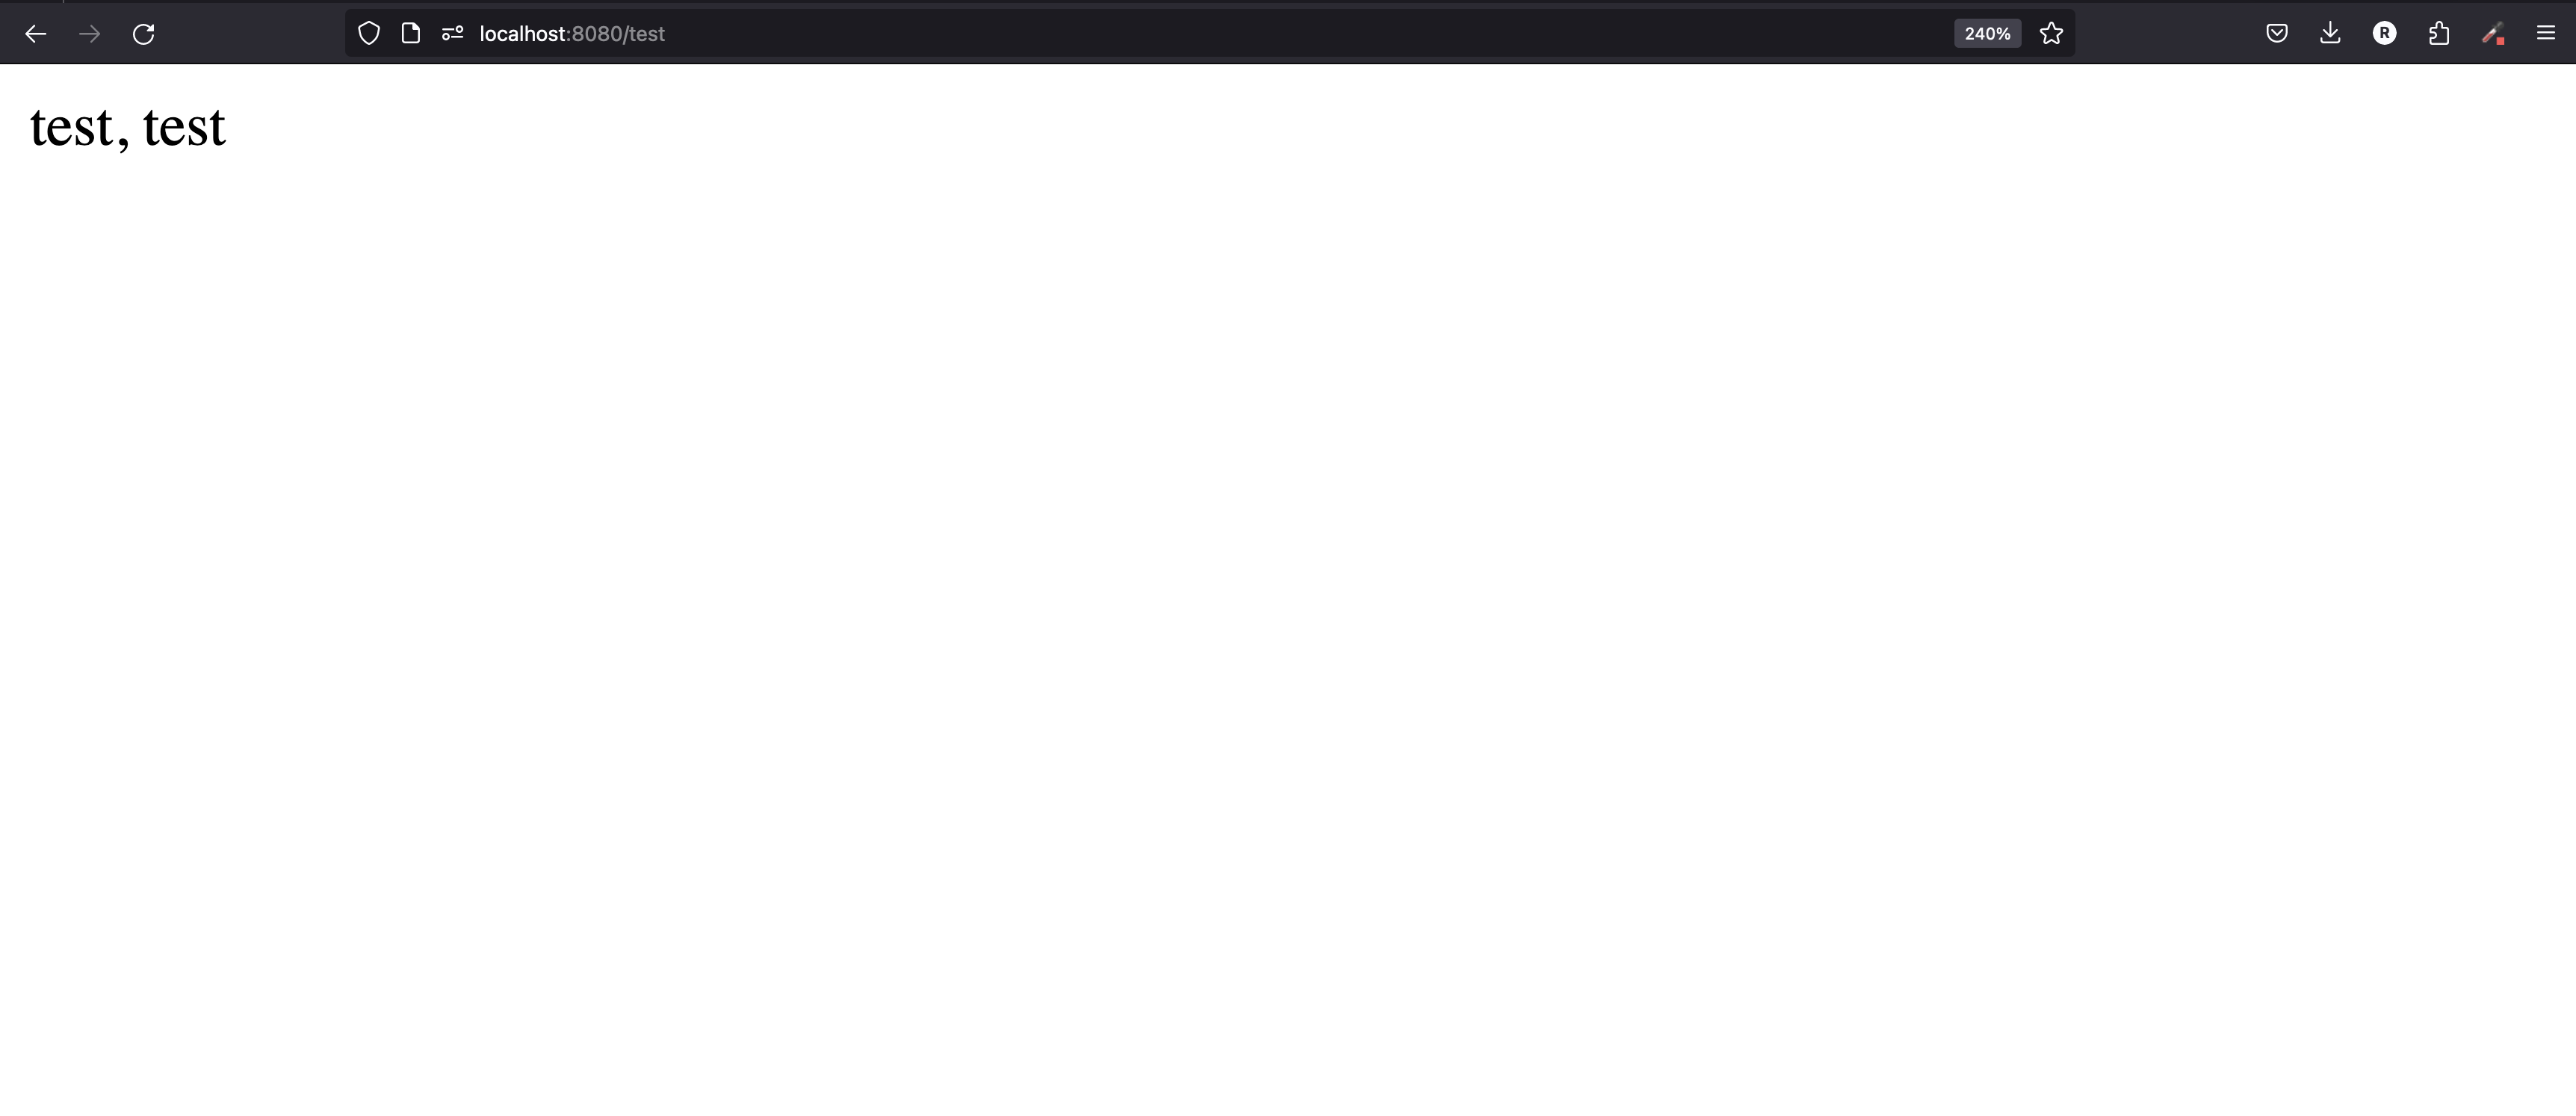
Now, when you rerun your project, you should be able to navigate to http://localhost:8080/test and see the same thing below: